





















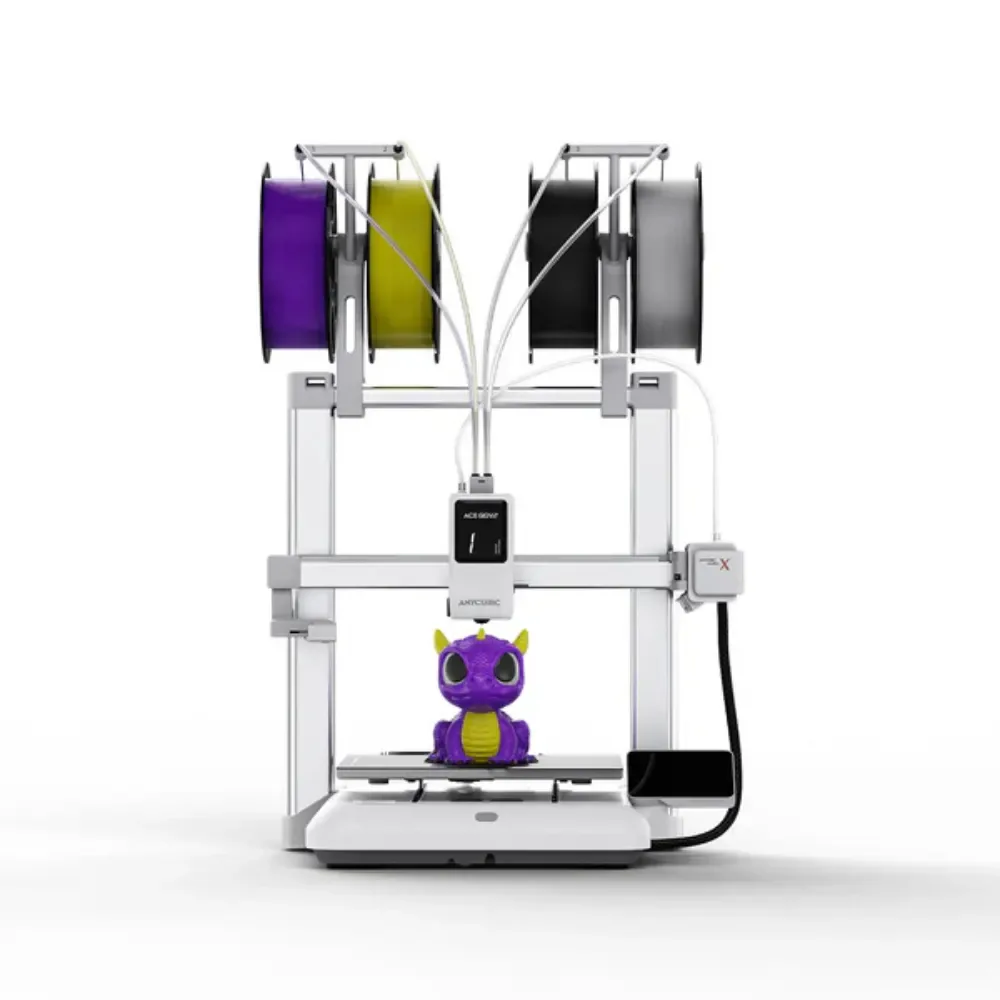
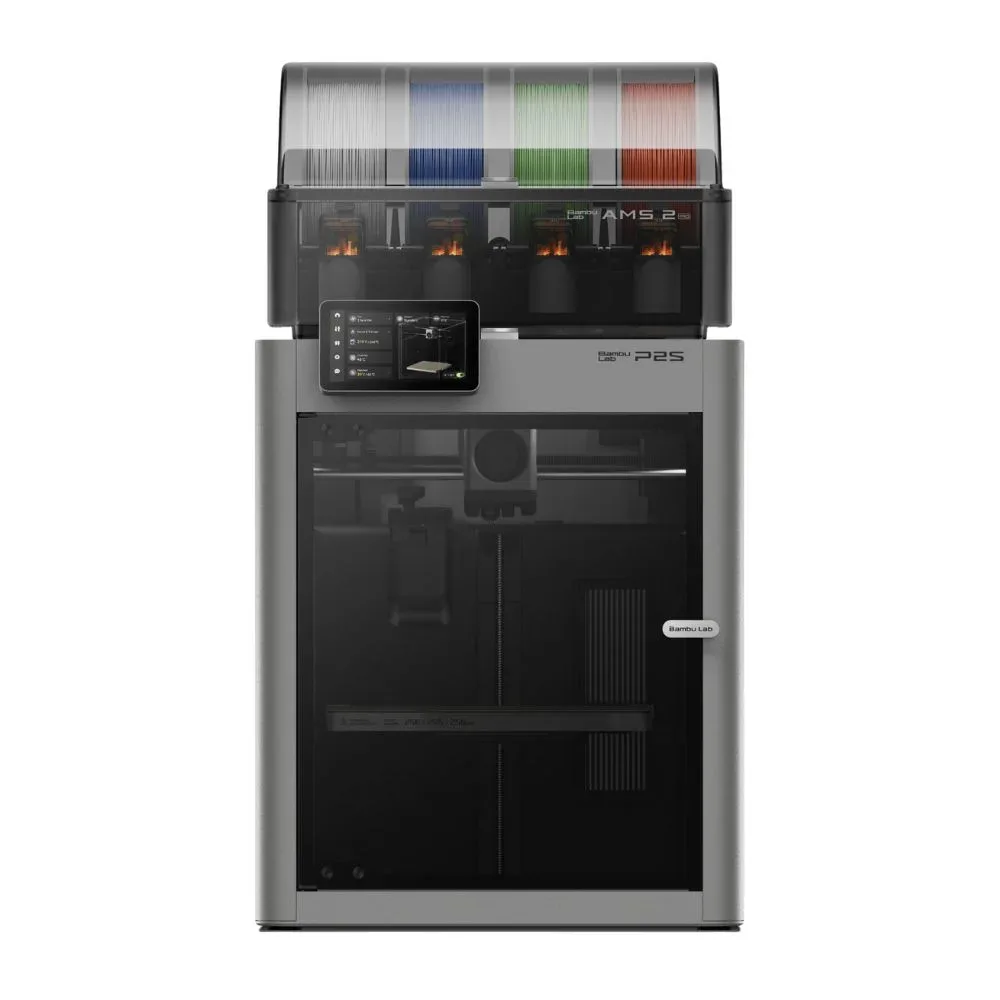
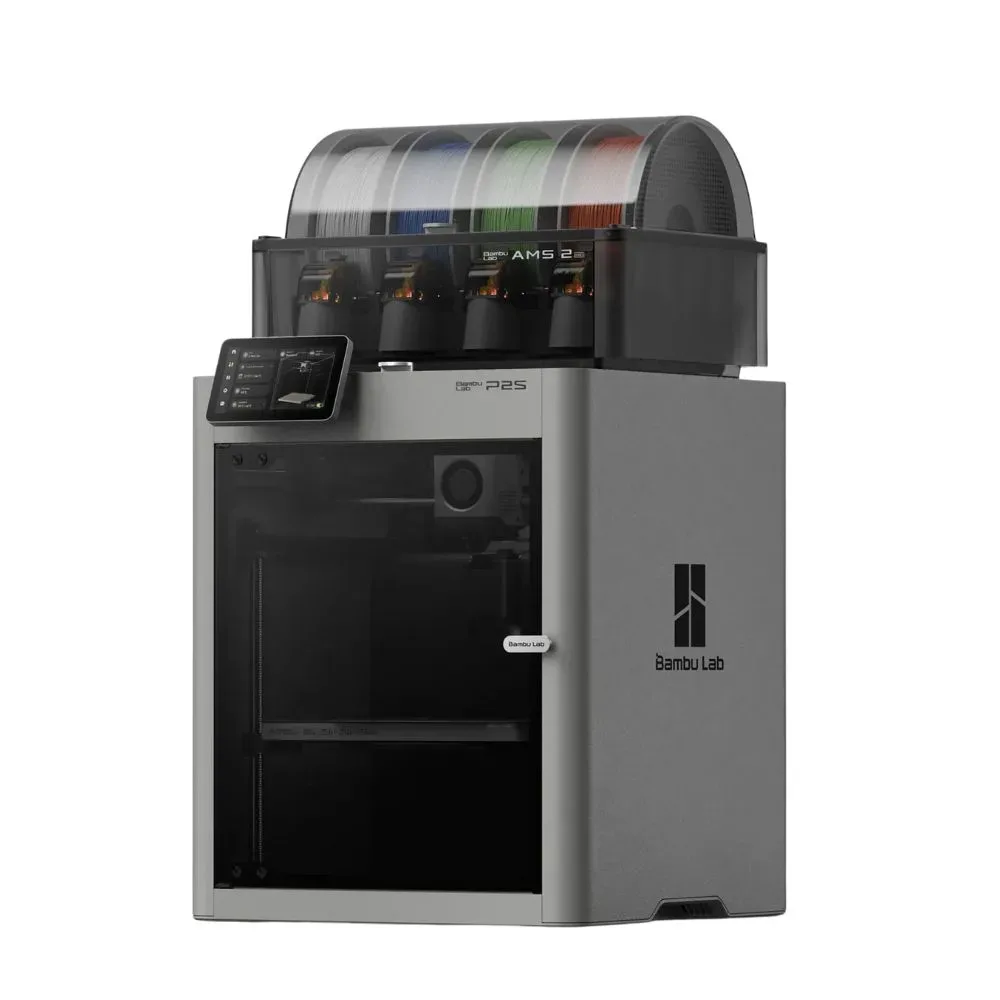
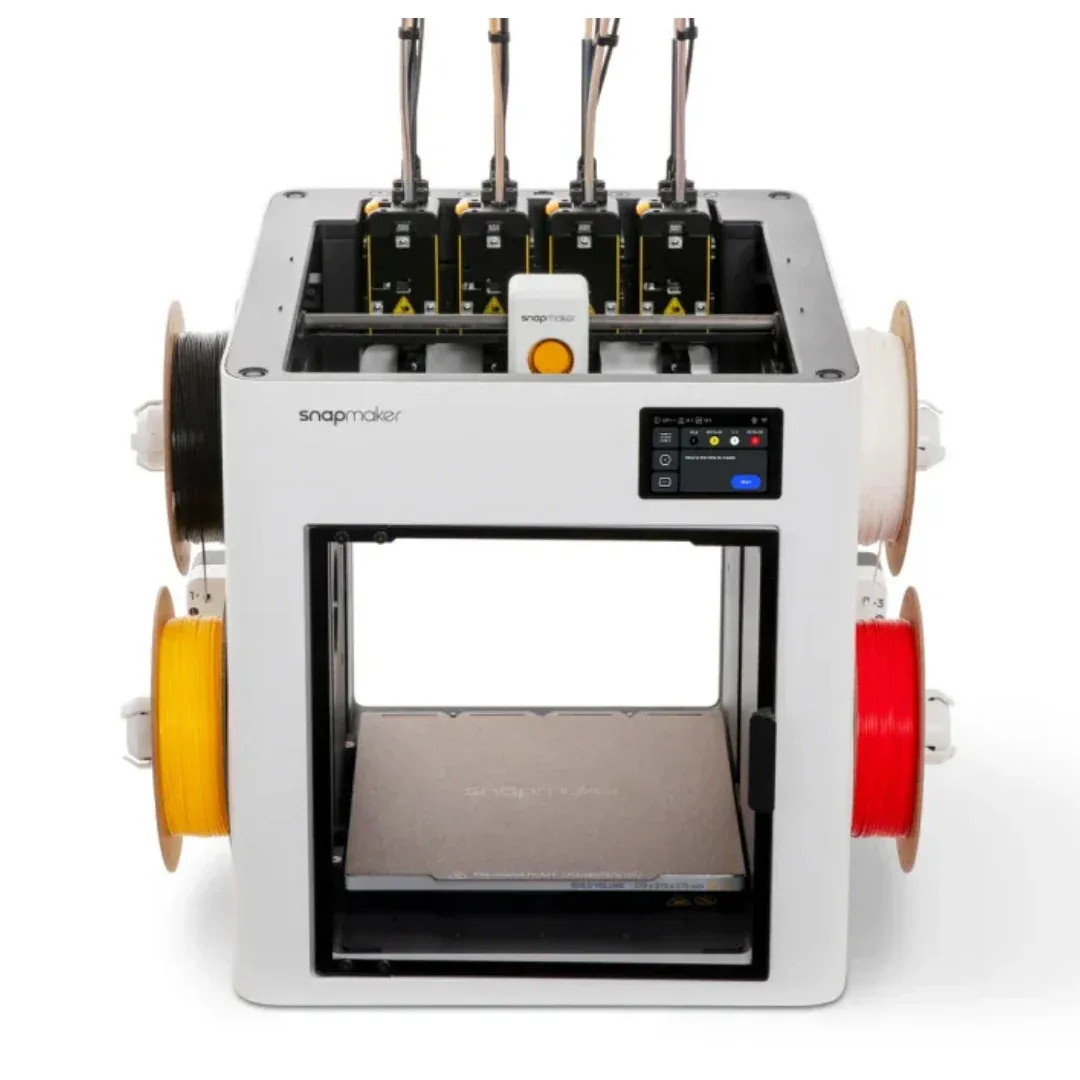
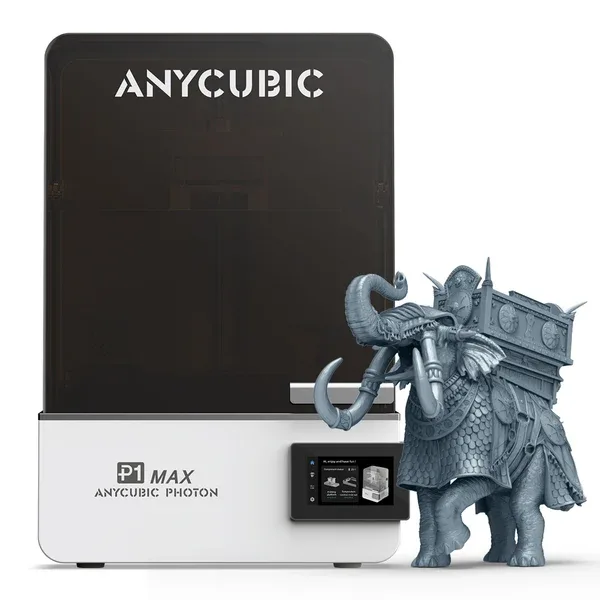
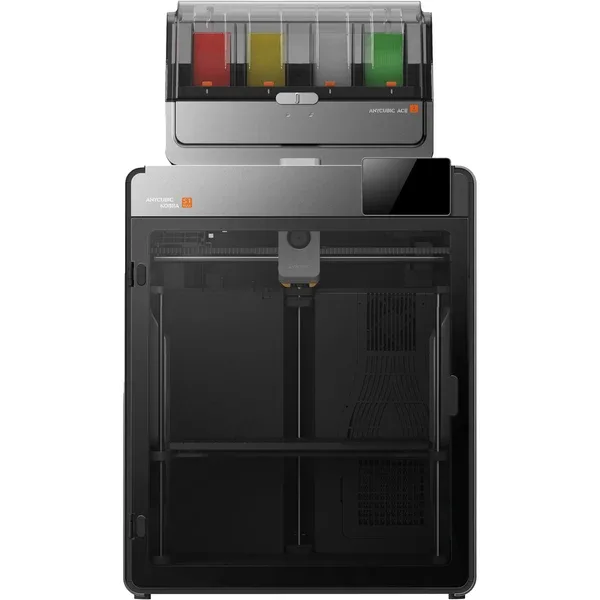
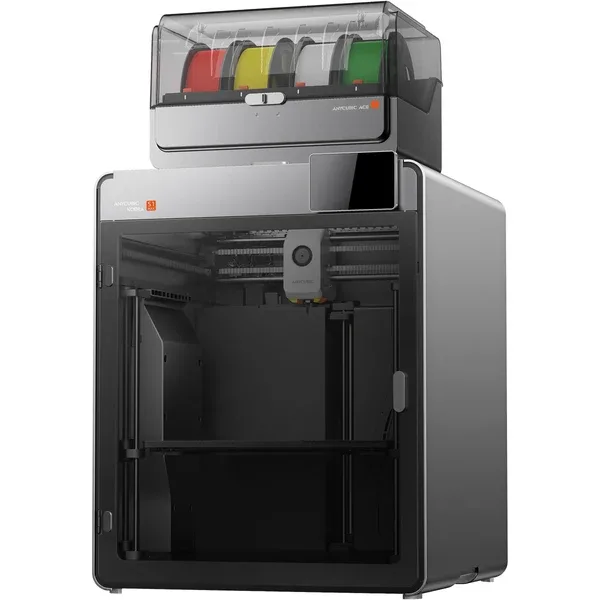
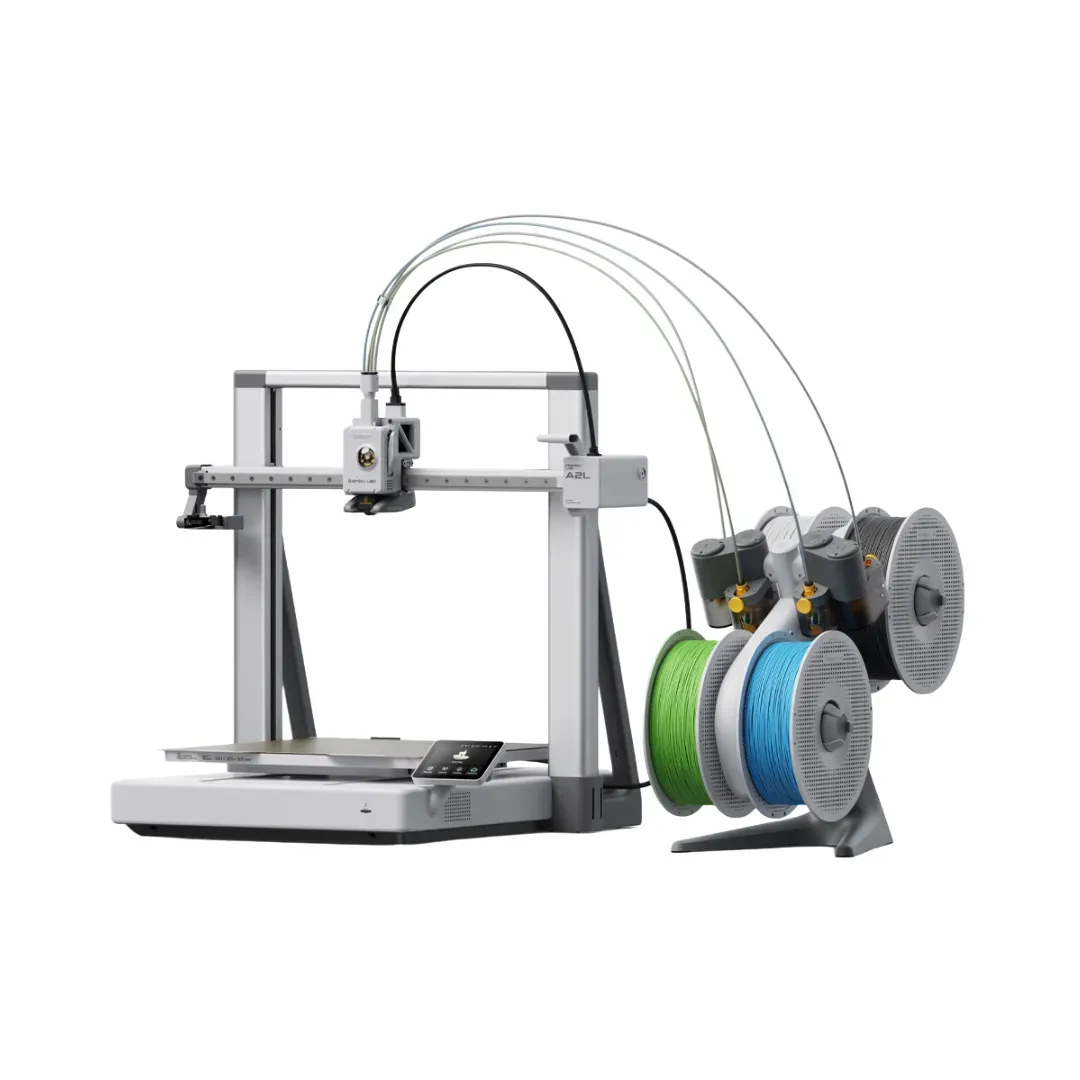
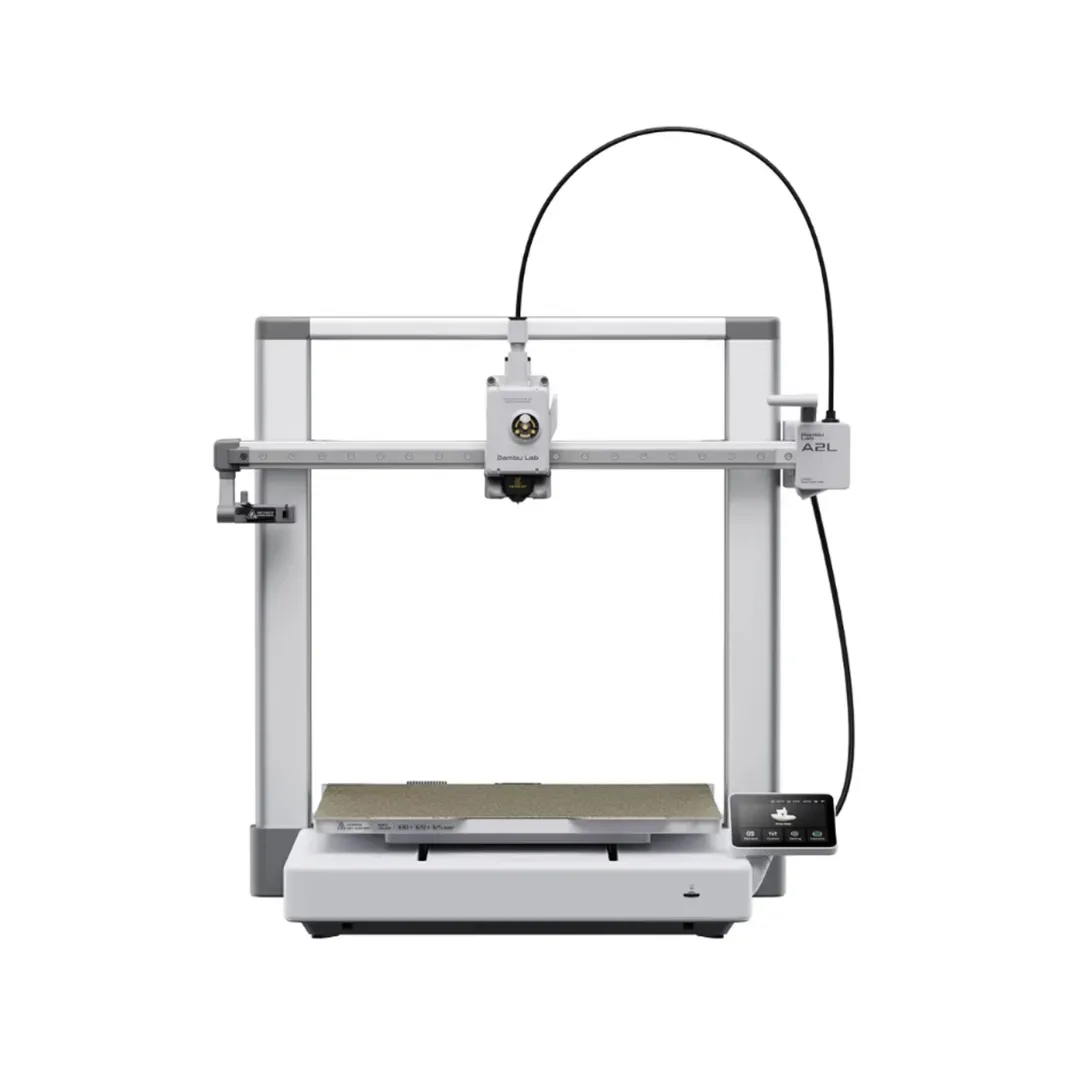
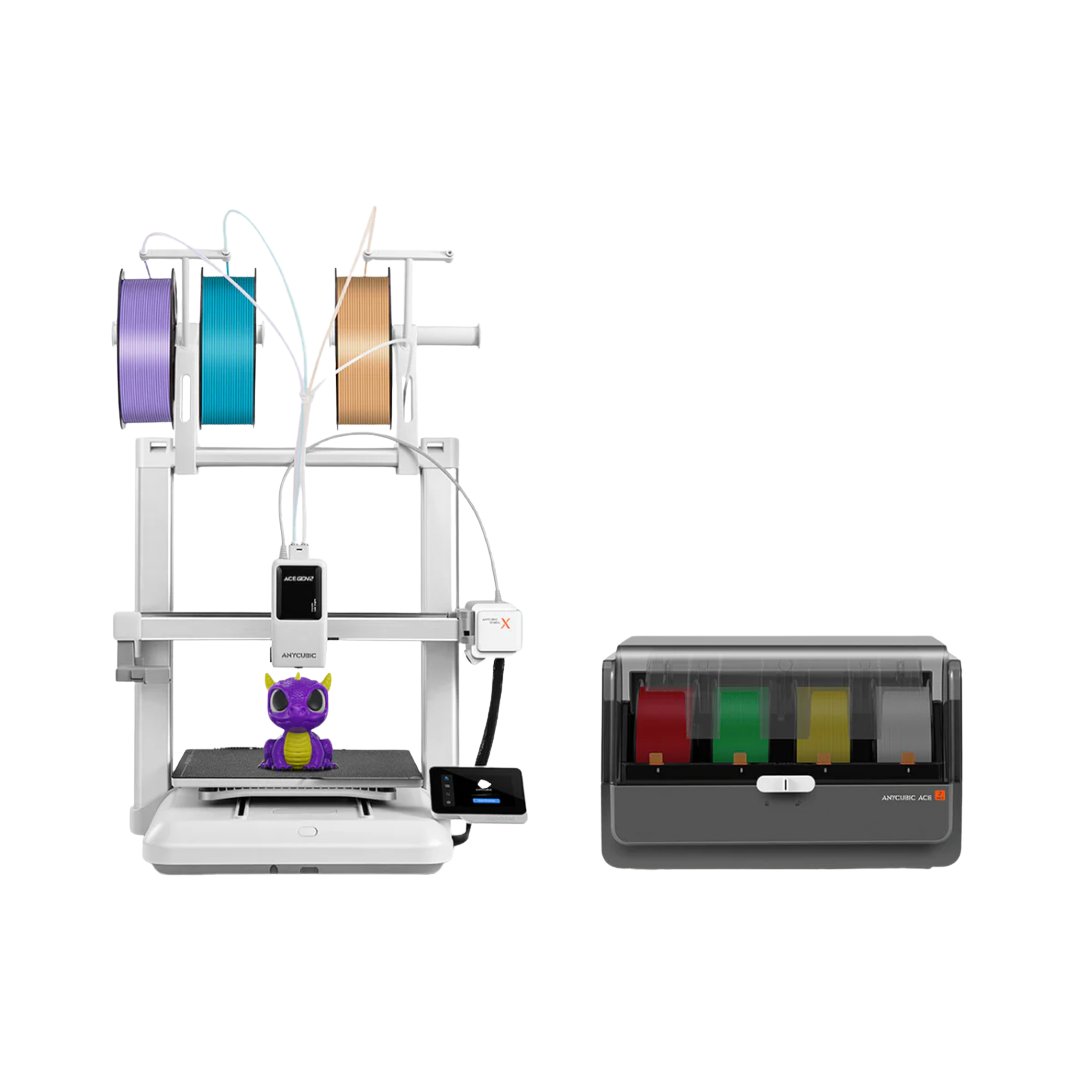
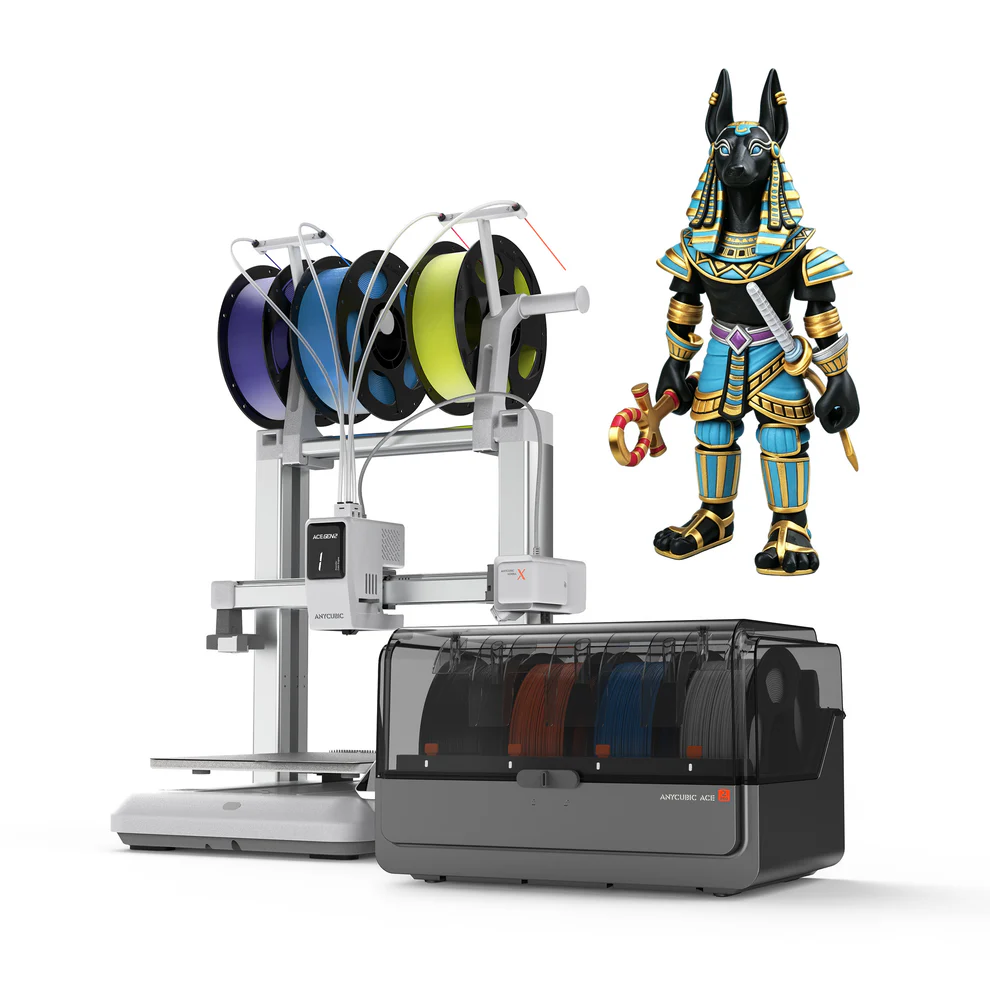
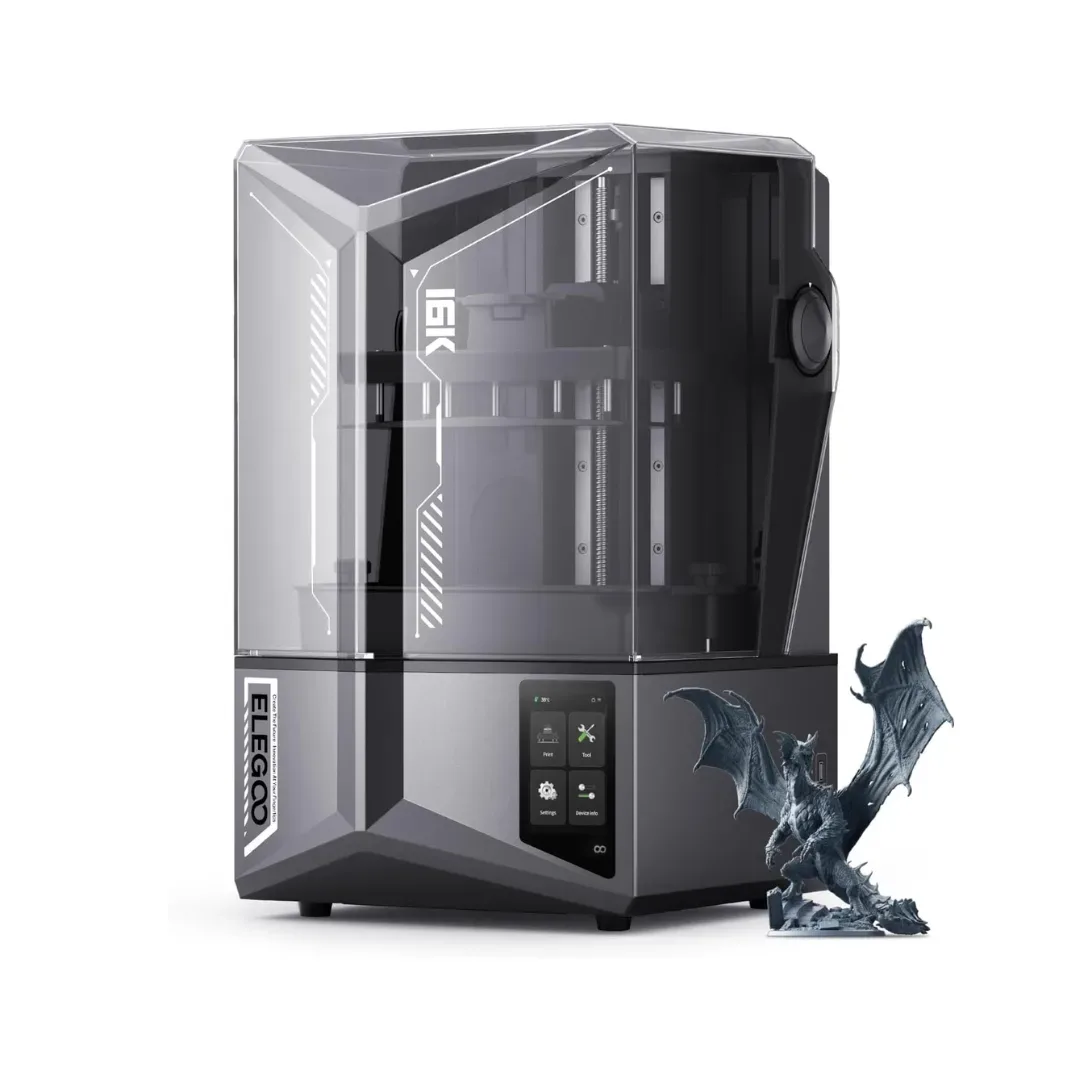

Buy 3D Printers Online in India

FDM | SLA | DLP | LCD — Starting From ₹14,949

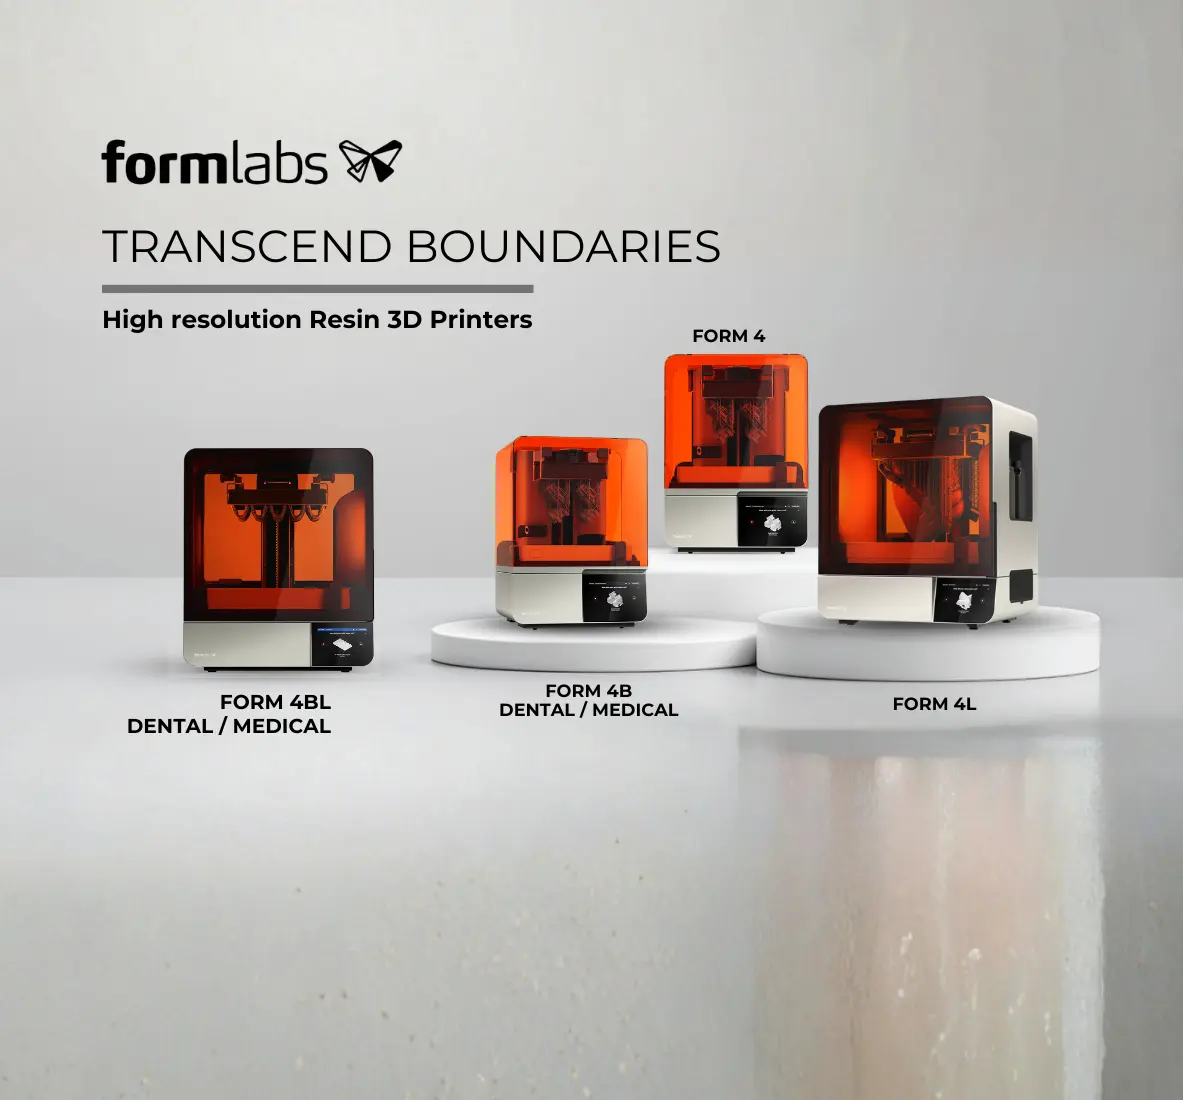
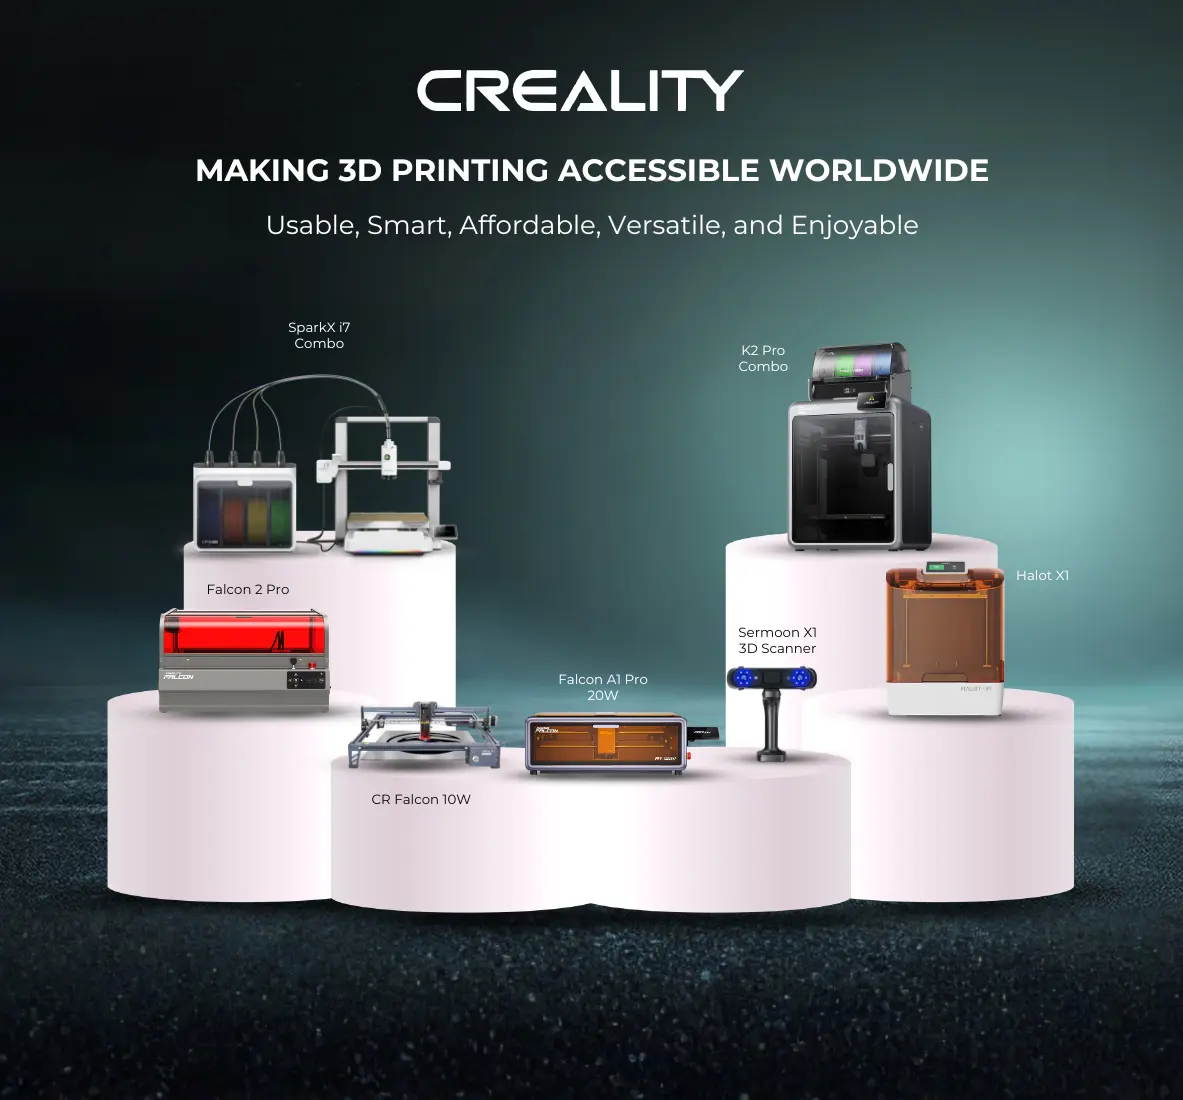
Shop By Brand

India's Leading 3d printer store

3Idea Technology is India's leading 3D printer retailer, based in Mumbai. We stock the widest range of FDM, SLA, and DLP printers from Bambu Lab, Creality, Anycubic, Snapmaker, and more. Whether you're a hobbyist, educator, or industrial user, we offer EMI options, fast pan-India delivery, and manufacturer-backed warranty support.

Fast Shipping

7 Days Return Policy

Best Deals

Safe Transactions

Fast Shipping

7 Days Return Policy

Best Deals

Safe Transactions

Fast Shipping

7 Days Return Policy

Best Deals

Safe Transactions

Fast Shipping

7 Days Return Policy

Best Deals

Safe Transactions

Fast Shipping

7 Days Return Policy

Best Deals

Safe Transactions

Fast Shipping

7 Days Return Policy

Best Deals

Safe Transactions

Fast Shipping

7 Days Return Policy

Best Deals

Safe Transactions

Filament Banner
Resins Banner

Next Generation Trends

Discover expert advice, style inspiration, and product updates on our blog.

image
How to Improve 3D Print Quality in FDM 3D Printing

Every FDM user eventually hits the same wall: prints come off the bed looking rougher, stringier, or less accurate than they should. The hardware is capable; the slicer is full of settings; the filament is good — but the results are inconsistent. The gap between mediocre and excellent print quality is almost entirely about systematically dialling in the right settings.This complete FDM 3D printing settings guide walks through the changes that deliver the biggest improvements, with practical values to start from and the calibration sequences that lock in consistent quality.Quick Wins: Top 5 Settings to Instantly Improve Print QualityIf you only have an hour to spend on improving prints, start here:Reduce layer height to 0.12 mm for high-detail prints (from a default of 0.2 mm)Re-level the bed and calibrate the first layer carefullyTune nozzle temperature with a temperature tower for your specific filamentAdjust retraction settings to eliminate stringingSlow down print speed to 40–60 mm/s for visible exterior surfacesThese five adjustments deliver the bulk of the visible quality improvement. Everything else is refinement.Layer Height and ResolutionLayer height is the single biggest knob for surface finish. Lower values produce smoother surfaces with finer detail; higher values print faster but show more visible layer lines.Recommended starting points:0.08–0.12 mm: high-detail work — miniatures, jewellery prototypes, fine-feature parts0.16–0.20 mm: general-purpose printing — the most common range0.24–0.32 mm: fast prototyping where surface finish is less criticalMatch layer height to the smallest critical detail on your model. For everyday prints, 0.16 mm is an excellent balance of speed and quality.Temperature SettingsIncorrect nozzle and bed temperatures cause weak layers, stringing, and poor adhesion in roughly equal measure.Recommended starting ranges:PLA: 200–215 °C nozzle, 60 °C bedPETG: 230–245 °C nozzle, 80 °C bedABS: 230–250 °C nozzle, 100–110 °C bed (enclosure required)TPU: 220–235 °C nozzle, 50 °C bedPLA+ / PLA Pro: 210–225 °C nozzle, 60 °C bedPrint a temperature tower — a structured calibration print that tests multiple temperatures in one job — to find the exact sweet spot for your specific filament and machine.Print Speed OptimisationSpeed and quality trade off directly. Higher speeds reduce accuracy and surface finish; slower speeds improve both at the cost of print time.Practical speed guidance:Outer walls (visible surface): 30–50 mm/sInner walls and infill: 60–80 mm/sTravel moves: 150–200 mm/sFirst layer: 20–30 mm/s regardless of overall speedModern high-speed printers (Bambu Lab X1, Anycubic Kobra 3, Creality K1) handle much higher speeds with input shaping and pressure advance, but the principle holds: slower exterior walls = better surface finish.Retraction SettingsRetraction prevents oozing and stringing during travel moves. Bad retraction settings are the single biggest cause of stringy, blobby prints.Starting values:Bowden extruders: 5–6 mm retraction distance, 40–60 mm/s speedDirect drive extruders: 0.8–2 mm retraction distance, 30–40 mm/s speedPETG: start with 5 mm and tune carefully (PETG strings more than PLA)TPU: minimal retraction — flexible filament resists clean retractsPrint a retraction tower to dial in the exact value for your filament-printer combination. Once tuned, retraction settings are stable for the life of that filament type.Bed AdhesionA reliable first layer is the foundation of every successful print. Bad bed adhesion ruins prints before they begin.Steps to lock in great adhesion:Clean the bed with 91%+ isopropyl alcohol before every important printRun a proper bed-level routine (auto or manual mesh)Tune Z-offset until first-layer extrusion is slightly squished — wider than the nozzle widthSlow first-layer speed to 20–30 mm/sFor tall or narrow parts, add a brim (5–8 mm)For ABS / nylon / PETG, use a heated bed and consider an enclosureBed adhesion is a one-time investment in setup, not a daily struggle.Settings Cheat Sheet (Quick Reference)SettingRecommended RangePrimary ImpactLayer height0.12–0.20 mmSurface quality, detailNozzle temp200–215 °C (PLA)Layer bondingPrint speed40–60 mm/sAccuracy, surfaceRetraction4–6 mm (Bowden)Stringing controlBed temp50–60 °C (PLA)AdhesionCooling fan100% from layer 3Overhang qualityUse this as a starting point. The values above are deliberately conservative — they almost never fail. Tune from there for your specific filament and use case.Step-by-Step Calibration GuideA complete one-time calibration sequence that locks in quality for months:Bed levelling. Auto-level mesh or manual paper test.Z-offset / first layer. Print a one-layer calibration square and tune until extrusion looks slightly squished.E-steps calibration. Confirm 100 mm commanded extrusion actually delivers 100 mm of filament.Flow rate. Print a single-wall calibration cube and measure wall thickness; adjust flow accordingly.Temperature tower. Find the cleanest temperature for your filament.Retraction tower. Find the cleanest retraction for your printer-filament combination.Acceleration / pressure-advance tuning (advanced).Run this sequence once per filament change or every few months. It is the single highest-leverage time investment a 3D printing user can make.Common Problems and FixesStringingCause: temperature too high, retraction insufficientFix: drop nozzle temp 5–10 °C, increase retraction distance/speedWarpingCause: uneven cooling, especially with ABS or large PLA printsFix: heated bed at correct temperature, enclosure for ABS, brim for gripLayer LinesCause: layer height too high, inconsistent extrusionFix: reduce layer height, calibrate flow rate, check belt tensionUnder-ExtrusionCause: clogged nozzle, low flow rate, moist filamentFix: clean nozzle (cold pull), increase flow, dry filament if neededOver-ExtrusionCause: flow rate too high, e-steps miscalibratedFix: calibrate e-steps, reduce flow rate by 2–5%Filament Quality MattersEven perfect settings cannot rescue bad filament. The qualities that affect printability:Tight diameter tolerance (±0.02 mm or better)Consistent colouring and roundnessProperly sealed and dry packagingLow moisture contentStick with trusted brands — Bambu Lab, eSUN, 3idea’s in-house filament range, and Polymaker for premium work. Store filament in airtight containers with desiccant; moist filament is the single biggest cause of inconsistent quality. Browse premium FDM filaments on 3idea: https://www.3idea.in/products/filaments.Slicer Settings OptimisationModern slicers — Cura, PrusaSlicer, OrcaSlicer, Bambu Studio — offer an enormous tuning surface. The settings worth focusing on first:Wall count (3+ for strong parts, 2 for fast prototypes)Top/bottom layers (5+ for clean top surfaces)Infill pattern (gyroid for strength, lines for speed)Infill density (15–25% for visual parts, 40%+ for functional)Combing (reduces travel, reduces stringing)Coasting (for very stringy filaments)Pressure advance / linear advance (sharper corners, advanced)A well-tuned slicer profile, paired with a calibrated printer, produces consistently excellent prints with almost no babysitting.Pro Tips for Better ResultsHard-earned habits from experienced users:Use a smaller nozzle (0.2 mm) for ultra-fine detail; a larger nozzle (0.6 or 0.8 mm) for fast prototypingKeep ambient temperature stable — drafts cause uneven cooling on large printsLubricate linear rails and lead screws every few monthsReplace nozzles routinely — they wear faster than most users expectUse mesh bed levelling if the bed is even slightly warpedThese are the small habits that compound into long-term reliability.Before vs After: The Visible ImprovementA printer dialled in by this guide vs an out-of-the-box default setup will produce:30–50% better surface finish on visible walls70%+ reduction in stringingNear-zero first-layer failuresPrint-to-print consistency that lets you treat the printer as a production toolThe improvement is dramatic. The settings to get there are well-understood.ConclusionImproving FDM print quality isn’t magic — it’s a disciplined sequence of calibration steps and informed settings choices. Run the full calibration sequence once, build a settings library for the filaments you actually use, and treat your printer as a production tool rather than a hobby project.The result is consistently excellent prints, fewer failed jobs, and far less wasted filament.Browse FDM 3D printers, premium filaments, and upgrade accessories on 3idea Technology: https://www.3idea.in/products/3d-printers

Read more
image
Best Portable 3D Scanner for Industrial Use (2026)

Industrial environments demand three things from every measurement system: accuracy, speed, and adaptability. Fixed metrology systems deliver on the first two but fail on the third. That’s why portable 3D scanners have become the go-to choice for modern factories, reverse engineering labs, and field inspection teams.This guide compares the top handheld 3D scanner technologies of 2026, breaks down which is best for which industrial application, and helps you select the right machine for your workflow.Quick Comparison: Top Portable 3D Scanner CategoriesScanner TypeAccuracySpeedPrice RangeBest ForStructured Light ScannerHighFastMediumSmall parts, quality inspectionLaser Handheld ScannerVery HighMediumHighLarge objects, industrial environmentsHybrid ScannerHighHighPremiumMixed workflows, advanced industrialUse this as a starting frame, then read on for the detail on each category.Why Industries Need Portable 3D ScannersThe traditional alternative — fixed coordinate measuring machines (CMMs) or studio-based scanners — has three drawbacks for modern production:Parts must come to the scanner, which means transport, fixturing, and downtimeLimited adaptability to varied part sizes and geometriesHigh capex for single-purpose hardwareA portable 3D scanner inverts the equation. The scanner goes to the part, scans it where it sits, and integrates directly into manufacturing workflows. The result is faster inspection cycles, more flexible reverse engineering, and the ability to capture digital twins of installed equipment without disrupting operations.This is the foundational technology of Industry 4.0 manufacturing and modern digital quality control.Top Portable 3D Scanner Categories for 2026The current market splits cleanly into three technology categories.1. Structured Light Handheld ScannersStructured light scanners project a known pattern of light onto the object and calculate depth from how the pattern deforms. Modern systems use blue or white LED light and offer exceptional speed-to-accuracy ratios.Pros:High accuracy at small to medium part sizesFast scan rates, ideal for production inspectionExcellent for capturing fine detailOften the most affordable handheld optionCons:Struggle with reflective or transparent surfaces (requires matte spray)Limited performance on very large objectsSensitive to ambient lightingBest for: small-to-medium part inspection, dental and medical applications, art and heritage digitisation, and detailed reverse engineering of consumer products.2. Laser Handheld ScannersLaser scanners project one or more laser lines that sweep across the object. Modern systems use multiple lasers simultaneously, dramatically increasing capture speed.Pros:Industry-leading accuracy for handheld systemsExcellent for large parts and assembliesWork well in challenging lighting (factory floors, outdoor sites)Better performance on dark and slightly reflective surfacesCons:Higher cost than structured lightSlightly slower capture rates for fine detailTypically heavier and largerBest for: large-scale reverse engineering, automotive and aerospace inspection, heavy machinery, and on-site industrial work.3. Hybrid Portable ScannersHybrid scanners combine multiple sensing modes — typically structured light for fine detail plus laser lines for larger features — in a single device. This makes them the most versatile category, though also the most expensive.Pros:Single device handles small parts and large assembliesExcellent accuracy across the rangeAdaptive to different surfaces and lightingCons:Premium pricingSteeper learning curve due to multiple capture modesLarger software ecosystem to manageBest for: professional reverse engineering shops, large industrial users with varied scanning needs, and service providers handling diverse client projects.Handheld vs Stationary 3D ScannerA practical decision frame for industrial use:Handheld scanners offer mobility, faster setup, and the ability to scan parts in their installed location. They are ideal for field inspection, on-site reverse engineering, and any workflow where moving the part is impractical.Stationary scanners (CMMs, optical CMMs, blue-light booth systems) offer slightly higher accuracy and repeatability for parts that can be brought to them. They excel at high-throughput inspection of identical parts in a controlled environment.Most modern industrial operations now use both — stationary systems for production-line QA, handheld systems for reverse engineering, repair, and field inspection.Structured Light vs Laser Handheld 3D ScannerA common buyer dilemma. The decision framework:Scanning small parts with fine detail ? Structured lightScanning large parts or assemblies ? LaserWorking in variable lighting conditions (factory floor, outdoor) ? LaserNeed maximum accuracy at small scale ? Structured lightNeed maximum versatility ? HybridBoth technologies have matured to the point that either delivers professional results for the right application. The wrong technology for your application is the most expensive mistake you can make.Features to Look For in a Portable 3D ScannerWhichever category you choose, the features that matter:Accuracy and resolution — published as volumetric accuracy and point spacing. Look for accuracy at the micron level for engineering applications.Capture speed — measured in points/second. Higher speeds shorten scan time, especially for large parts.Portability — weight, battery life, and wireless operation matter for field work.Software ecosystem — make sure the scanner’s software integrates with your CAD and metrology toolchain (Geomagic, PolyWorks, etc.).Object size range — confirm the scanner covers your typical part envelope, with margin.Surface adaptability — modern scanners handle most surfaces, but verify performance on the materials you’ll actually be scanning.Service and calibration support in India.Get all of these right and you have a scanner that pays back its investment in months.How to Choose a Portable 3D Scanner for IndustryA practical buying process:Define your primary use case. Reverse engineering, quality inspection, on-site digitisation? Each suggests different technologies.Define your typical part size. Sub-300 mm parts favour structured light; multi-metre objects favour laser.Define your accuracy threshold. Aerospace and medical demand 10–50 micron volumetric accuracy; consumer reverse engineering tolerates 100+ micron.Define your throughput. One part a day vs 50 parts a day changes the right answer.Define your software workflow. Choose a scanner whose software fits cleanly into your existing pipeline.Compare total cost of ownership. Include software, training, calibration, and accessories — not just hardware sticker price.A scanner is a multi-year investment. Spending an extra week on the decision saves months of regret.Challenges in Industrial 3D ScanningHonest about the limits:Reflective surfaces still cause headaches. Matte spray, polarising filters, or laser scanners help.Dark surfaces absorb light and scan poorly. Most laser scanners cope better than structured light.Very large objects demand multi-scan workflows with careful alignment.Data volumes are huge — plan for adequate storage, RAM, and GPU compute for processing.None of these are deal-breakers. They are simply factors to plan for.How to Improve Accuracy in 3D ScanningPractical accuracy tips:Calibrate the scanner before every important sessionMaintain consistent scan distance per the manufacturer’s specUse physical reference markers (or photogrammetry targets) for large objectsCapture in stable, indirect lighting where possibleUse matte spray on reflective surfacesThese steps compound. Each one adds a few percent of accuracy; together they decide whether the final model passes engineering acceptance.Use Cases for Portable 3D ScannersWhere these scanners deliver the most value:Automotive — reverse engineering legacy parts, inspecting body panels, validating toolingAerospace — first-article inspection, complex geometry validation, repair scanningTooling and manufacturing — design validation, jig and fixture scanningHeritage and museums — digital archiving of artefactsHealthcare and medical devices — custom prosthetics, orthotics, surgical planningConstruction and infrastructure — as-built BIM scanning, deformation analysisEach of these has been transformed by portable scanning over the past five years.Portable 3D Scanning Limitations — and SolutionsNo technology is universal. The current limits:Surface limitations ? use matte spray, polarised lighting, or hybrid scannersSize limitations ? multi-scan workflows with careful alignment, or photogrammetry hybridOperator skill ? invest in formal training; vendor-led training shortens the curve significantlyData processing time ? invest in adequate workstation hardware (GPU, RAM)Each limit has a known workaround. The technology landscape is mature enough to support almost any industrial application.Final RecommendationThe “best” portable 3D scanner depends entirely on your specific application, accuracy threshold, and budget. For most industrial buyers, the decision narrows to:•           High-precision small-part work ? top-tier structured light scanner•           Large parts and field work ? professional laser scanner•           Mixed workflows ? hybrid scanner if budget allowsExplore industrial-grade portable 3D scanners on 3idea Technology: https://www.3idea.in/products/3d-scannerChoose wisely. The right portable scanner becomes one of the most-used tools in a modern industrial workflow.

Read more
image
Complete 3D Scanning Workflow: From Scan to Final 3D Model

Capturing a 3D scan is the easy part. Turning that scan into a usable model, clean, watertight, and ready for printing, manufacturing, or analysis, is where most beginners get stuck. The 3D scanning workflow is the bridge between raw scan data and finished output.This guide walks through the complete process, from data capture to final export, with the tools and techniques used by professionals across industries.What Is a 3D Scanning Workflow?A 3D scanning workflow is the structured sequence of steps that converts a physical object into a digital 3D model. It includes scanning, point cloud processing, mesh generation, cleanup, alignment, and (often) CAD conversion.Skipping or rushing any step compromises the final output. A great scan with poor post-processing produces a worse model than an average scan handled well.Complete 3D Scanning Workflow Step by StepA professional 3D scanning workflow has seven distinct stages.1. Data Capture (3D Scanning)The first step is capturing the physical object using a 3D scanner. The choice of technology, structured light, laser, photogrammetry, affects accuracy, resolution, and speed.Structured light scanners are excellent for small to medium objects with high detail demandsLaser scanners handle larger objects and difficult surfaces betterPhotogrammetry uses photographs and is the lowest-cost entry pointGood capture practices: stable lighting, matte (non-reflective) surface, and adequate overlap between scan passes. Get capture right and the rest of the workflow becomes faster.2. Point Cloud ProcessingThe scanner outputs raw point cloud data, millions of XYZ coordinates describing the object’s surface. This data is dense and noisy.Point cloud processing involves:Removing background and stray pointsFiltering noiseDown-sampling for manageabilityAligning multiple scan passesTools like Geomagic, CloudCompare, and Polyworks handle this stage. Clean point clouds make every later step easier.3. Mesh GenerationThe cleaned point cloud is converted into a polygon mesh, connecting points into triangular faces that form a continuous surface. This is the point cloud to mesh conversion step.Mesh density matters. Too few polygons lose detail; too many slow every subsequent operation. Most workflows generate a high-density mesh first, then decimate to a manageable size for editing.4. Mesh Cleanup and OptimisationRaw meshes contain holes, overlapping triangles, inverted normals, and surface noise. Mesh cleanup fixes:Holes (filled either flat or with curvature continuity)Overlapping or self-intersecting geometryInverted face normalsSurface roughness from scan noiseFloating disconnected fragmentsA clean, watertight mesh is essential for 3D printing, simulation, or CAD conversion. This is one of the most time-consuming but most valuable stages of the workflow.5. Scan Alignment and MergingFor larger objects, multiple scans from different angles must be aligned and merged into a single coherent model. Most modern scanning software uses two-stage alignment:Coarse alignment, manually selecting reference points to roughly position scansFine alignment (ICP, Iterative Closest Point), automated precision alignmentGood alignment is invisible; bad alignment shows up as doubled surfaces, gaps, or step-edges. Reference markers (or “targets”) placed on the object before scanning dramatically improve alignment quality.6. CAD Conversion (When Needed)For engineering and reverse engineering applications, mesh data isn’t enough, you need parametric CAD. The scan-to-CAD conversion process recreates the geometry as solid CAD bodies using tools like Geomagic Design X, SolidWorks ScanTo3D, or Fusion 360.The two main approaches:Auto-surfacing, software fits surfaces to the mesh automatically (fast, lower precision)Feature-based reconstruction, you manually identify and recreate features like holes, fillets, and flat faces (slower, fully parametric)Engineering applications almost always require feature-based work; pure visualisation often gets by with auto-surfacing.7. Final Model ExportThe last step is exporting in the format your downstream use needs:STL, for 3D printingOBJ, for visualisation, rendering, VRSTEP / IGES, for CAD interchange and manufacturingPLY, for further mesh processing3MF, modern alternative to STL for slicersMost professional workflows export multiple formats simultaneously to cover different downstream needs.Tools and Software for the 3D Scanning WorkflowThe most-used tools at each stage:Capture: depends on the scanner, usually OEM softwarePoint cloud processing: Geomagic Wrap, CloudCompare, PolyWorksMesh generation and cleanup: Geomagic Wrap, MeshLab, Meshmixer (free, beginner-friendly)Scan to CAD: Geomagic Design X, Fusion 360, SolidWorks ScanTo3DSTL repair: Meshmixer, Materialise Magics, Microsoft 3D BuilderBeginners can do an enormous amount with the free tools, MeshLab, Meshmixer, and CloudCompare cover most casual workflows.Common Challenges in the 3D Scanning WorkflowRecurring problems and how to address them:Noise in scan data, improve scanner calibration, use matte spray on glossy surfaces, scan in stable indirect lightingHoles in the mesh, use scanning patterns with adequate overlap; fill holes intelligently in mesh softwareAlignment errors, use physical reference markers; ensure scans share at least 30% overlapResolution mismatches, match scanner settings to the object’s smallest critical featureA disciplined capture stage prevents most processing-stage headaches.How to Improve Accuracy in 3D ScanningFor the highest-fidelity results:Calibrate the scanner before every important sessionMaintain constant scanning distance (per scanner spec)Use reference markers on the objectCapture at multiple angles with generous overlapApply matte spray to reflective surfacesThese steps compound. Each one improves accuracy by a few percent; together they decide whether the final model is usable for engineering.Use Cases of the 3D Scanning WorkflowA clean 3D scanning workflow powers applications across industries:Manufacturing & quality inspection, comparing scanned parts against CAD nominalsReverse engineering, recreating CAD for legacy parts or competitor analysisHealthcare, patient-specific prosthetics, dental models, surgical planningHeritage and museums, digital archiving of irreplaceable artefactsVisual effects and gaming, high-fidelity asset captureDigital twin creation, operational replicas for monitoring and simulationThe technology is mature; the workflow discipline is what separates good outputs from great ones.Why a Structured Workflow MattersA structured workflow delivers three benefits:Repeatability. Two operators on the same scanner produce the same model.Quality control. Each stage has acceptance criteria before moving to the next.Efficiency. Less time troubleshooting the same problems repeatedly.For professional use, especially in regulated industries like aerospace, medical, or automotive, the workflow is as important as the hardware.Conclusion3D scanning is no longer just for engineers with industrial-class hardware. Modern handheld scanners and accessible software have brought professional-grade workflows within reach of designers, makers, and small manufacturers.Master the seven-stage workflow, capture, point cloud processing, mesh generation, cleanup, alignment, CAD conversion, export, and you’ll handle almost any 3D scanning project with confidence.Explore industrial-grade 3D scanners on 3idea Technology: https://www.3idea.in/products/3d-scannerThe right scanner plus a disciplined workflow unlocks one of the most powerful capabilities in modern digital manufacturing.

Read more
image
3D Printing Troubleshooting Guide: Fix Wrapping Stringing & Clogs

3D printing is incredibly rewarding when it works, and incredibly frustrating when it doesn’t. Beginners and experienced users alike run into the same recurring failures: prints that won’t stick, layers that drift sideways, surfaces that look like spaghetti, parts that warp off the bed. The good news is that almost every one of these failures has a known cause and a fixable solution.This complete 3D printing troubleshooting guide walks through the most common problems, what causes them, and exactly how to fix them, step by step.Quick Troubleshooting Table: Problem ? Cause ? Solution? Problem? Likely Cause? SolutionPrint not stickingBed adhesion issueRe-level bed, clean surface, adjust first-layer heightStringingIncorrect retraction or temperatureIncrease retraction distance/speed, reduce nozzle temperatureWarpingUneven coolingUse heated bed and enclosure; add brim/raftUnder-extrusionNozzle clog or low flowClean nozzle, check filament, raise flow rateLayer shiftingLoose belts or excessive speedTighten belts, reduce print speed, check stepper driversUse this as a quick reference, then dive into each failure mode below.Why Do My 3D Prints Keep Failing?The honest answer: 90% of print failures trace back to one of three root causes:Calibration that has drifted, bed levelling, e-steps, flow rateWrong settings for the filament, temperature, speed, retractionMechanical wear or contamination, clogged nozzle, dusty linear rails, dry filament gone wetDiagnosing well means asking: what changed since the printer last worked? That single question solves most problems.1. Bed Adhesion IssuesProblem: The print does not stick to the build plate. It lifts mid-print or refuses to start cleanly.Cause: Dirty bed, uneven levelling, incorrect first-layer height, or a build surface that has lost its adhesion (PEI, glass, magnetic plates all wear).Solution:Clean the bed thoroughly with 91%+ isopropyl alcohol before printingRe-level using the printer’s auto-level routine, or manually with a paper testTune the Z-offset until the first layer is slightly squished, not glassy thin, not standing tallSlow down first-layer speed to 20–30 mm/sPrint a brim or raft for tall, narrow partsBed adhesion is the foundation. Get this right and most prints succeed.2. Stringing in 3D PrintsProblem: Thin strings of plastic appear between separated parts of the print.Cause: Incorrect retraction settings and/or nozzle temperature too high for the filament.Solution:Drop nozzle temperature by 5–10 °C and re-testIncrease retraction distance (4–6 mm for Bowden tubes, 0.8–2 mm for direct drive)Increase retraction speed slightly (40–60 mm/s)Enable combing in the slicer to reduce travel distanceRun a temperature tower and retraction tower to nail the exact values for your filamentStringing is one of the easiest issues to fix once you’ve calibrated retraction for your specific filament-printer combination.3. Warping in 3D PrintingProblem: The corners of the print lift away from the bed as it cools.Cause: Uneven cooling, especially common with ABS, ASA, and large PLA prints.Solution:Use a heated bed at the correct temperature (60–70 °C for PLA, 100–110 °C for ABS)Enable an enclosure for ABS, PETG, and nylon printsAdd a brim (8–10 mm) or raft for added gripSlow down the fan during the first 5–10 layersClean and prep the bed properlyWarping is usually solved by addressing the cooling profile, not the bed.4. Nozzle Clogging and Under-ExtrusionProblem: Filament doesn’t extrude properly, prints look weak or have missing layers.Cause: Partial nozzle clog, low flow rate, filament feeder slipping, or moist filament.Solution:Run a cold pull (or “atomic pull”) to clear the nozzleVerify filament diameter (1.75 mm should measure 1.70–1.80 mm)Increase nozzle temperature by 5 °CRe-check the extruder gear for grub-screw slipDry filament in a filament dryer at 50 °C for 4–8 hours if it has absorbed moistureIf clogs recur, replace the nozzle entirely, they’re cheap and wear out.5. Over-ExtrusionProblem: Excess plastic creates blobs, rough surfaces, and dimensional errors.Cause: Flow rate set too high, or extruder e-steps not calibrated.Solution:Calibrate e-steps using a 100 mm extrusion testReduce flow rate (extrusion multiplier) by 2–5%Verify filament diameter measurement in slicerReduce print temperature slightly to firm extrusionOver-extrusion is harder to spot than under-extrusion but just as damaging to print quality.6. Layer ShiftingProblem: Layers appear offset midway through the print, ruining vertical alignment.Cause: Loose belts, excessive print speed/acceleration, or stepper driver issues.Solution:Tighten X and Y belts, they should be firm without being over-tensionedCheck pulleys for grub-screw slipReduce print speed by 20–30%Reduce acceleration in slicer or printer firmwareInspect stepper drivers, if they overheat, layer shifts followA printer that suddenly starts layer-shifting after months of stable printing is almost always a belt or pulley issue.7. 3D Printer Not Printing ProperlyProblem: The printer behaves erratically, pauses mid-print, or refuses to start.Cause: Firmware bugs, corrupted G-code files, USB issues, or hardware fault.Solution:Update to the latest firmware (and the matching slicer profile)Re-slice the model from scratch and try a different SD cardCheck all wiring, especially the heater cartridge and thermistorRestart the printer fully (power cycle)Reset to factory settings if recent changes caused issuesIf the problem persists after these steps, contact your seller’s technical support. 3idea provides after-sales support and technical troubleshooting for every printer we ship, and submit a service request at https://www.3idea.in/support.Best Settings to Avoid 3D Printing FailuresA general settings starting point for most common filaments:PLA: 200–215 °C nozzle, 60 °C bed, 60 mm/sPETG: 230–245 °C nozzle, 80 °C bed, 50 mm/sABS: 230–250 °C nozzle, 100–110 °C bed (with enclosure), 50 mm/sTPU: 220–235 °C nozzle, 50 °C bed, 20–30 mm/sTune from these starting points using temperature towers and retraction tests. Every printer-filament combination has its own sweet spot.Tools Needed for 3D Printer MaintenanceEssential maintenance kit:Set of 0.4 mm cleaning needlesHex key set (1.5–6 mm)Replacement nozzles (0.4 mm, plus 0.6 mm for fast prints and 0.2 mm for fine detail)Replacement PTFE tubingFilament cuttersDigital callipersBed-level test paperSpare belts and grub-screwsA well-stocked maintenance drawer keeps small problems from becoming days of downtime.Best Filaments for Fewer Print FailuresFilament quality dramatically affects success rate. Look for:Tight diameter tolerance (±0.02 mm or better)Consistent colouring and roundnessProperly sealed and dry packagingReliable brands, Bambu Lab, eSUN, and 3idea’s in-house filament range all deliver consistent resultsStore filament in dry boxes with desiccant. Moist filament is the leading cause of stringing, weak layers, and surface defects.How to Calibrate a 3D Printer ProperlyA complete calibration sequence:Bed levelling. Manual mesh or auto-level. Run a single-layer first-layer test square.Z-offset. Tune until first-layer extrusion looks slightly squished.E-steps calibration. Confirm 100 mm commanded actually extrudes 100 mm of filament.Flow rate. Print a single-wall calibration cube and measure wall thickness.Temperature tower. Find the cleanest temperature for your filament.Retraction tower. Find the cleanest retraction for your printer + filament combo.Acceleration / pressure-advance tuning for advanced users.Run this sequence once per filament change or every few months. It is the single highest-leverage time investment a 3D printing user can make.Beginner Tips for Successful 3D PrintingA short list of habits that prevent most failures:Start with the printer manufacturer’s recommended settings, never tune blindChange only one parameter at a time when troubleshootingMonitor the first 5–10 layers of every important printKeep a printing log, what worked, what didn’t, with which settingsTreat the first failure of any new filament as a calibration opportunity, not a lossThe difference between a frustrated beginner and a confident user is usually just disciplined testing.When to Seek Expert HelpYou can fix most problems at home. But seek expert help when:Hardware components (mainboard, hotend, heated bed) are misbehaving electricallyFirmware-level issues persist after a clean re-flashThe printer is under warranty and the issue might void itYou’ve spent more than a few hours debugging without progress3idea Technology offers India-based after-sales support, warranty service, and technical troubleshooting for all 3D printers and accessories we ship. Submit a support request at https://www.3idea.in/support.Conclusion3D printing is a discipline of patience and small adjustments. The failures look intimidating at first but follow a small set of predictable patterns, bed adhesion, retraction, cooling, calibration drift, and mechanical wear.This 3D printing troubleshooting guide gives you the playbook for each. Apply the fixes systematically, build the habit of calibration, and within a few weeks you’ll have shifted from constant troubleshooting to consistently successful prints.Save this guide. The next time something fails, and something always eventually does, you’ll know exactly where to start.

Read more
image
How to Start a Laser Engraving Business in India

Personalisation is no longer a niche, it is one of the fastest-growing consumer categories in India. Custom wedding favours, corporate branding gifts, anniversary keepsakes, retail merchandise, industrial part marking: every one of these is a profitable use case for a single, well-chosen laser engraver. That is why the laser engraving business in India has quietly become one of the most accessible entrepreneurial opportunities of the decade.This guide walks through the complete roadmap to start your own engraving business — from machine selection and budgeting to marketing and scaling.Why Start a Laser Engraving Business in India?Three forces are driving the opportunity:Rising demand for personalised products across weddings, corporate gifting, and retailLow capital entry:-  a serious starter machine costs less than ?1.5 lakhHigh margins:- customisation supports 40–70% gross margins consistentlyA laser engraving business is also one of the most flexible setups available. You can start from home with a single diode or compact CO2 machine, take small orders, build a portfolio, and scale into a dedicated workshop only when demand justifies it.Step 1: Understand the Business ModelA laser engraver focuses UV, infrared, or CO2 light onto a material surface to etch or cut designs with precision. Most consumer-facing engraving businesses focus on three material categories:Wood, acrylic, leather, paper (CO2 lasers)Stainless steel, aluminium, brass, anodised metals (fibre lasers)Light-duty wood and dark plastics (diode lasers)The first commercial decision is choosing your material focus, because it directly determines the machine you buy.Step 2: Market Research and Niche SelectionBefore investing in a machine, define your niche. The most consistently profitable categories for new entrants:Personalised gifts — name plates, photo frames, keepsakesWedding & event customisation — favours, signage, invitationsCorporate gifting — branded items, awards, executive accessoriesIndustrial part marking — small-batch B2B work with fibre lasersCustom jewellery and watch engravingStudy local demand — wedding markets vary city to city, and corporate gifting is heavily seasonal. E-commerce platforms like Etsy, Amazon Custom, and Instagram expand your addressable market well beyond your local catchment.Step 3: Investment and Cost PlanningRealistic starting investment in India:Hobbyist start (diode): ?30,000 – ?80,000 for the machine, ?15,000 for accessories and starting inventorySerious start (entry CO2): ?1,00,000 – ?2,50,000 for machine, ventilation, and inventoryIndustrial / fibre laser start: ?4,00,000 – ?10,00,000Beyond the machine, budget for:Materials (wood blanks, acrylic sheets, leather, ready-to-engrave gift items)Software (LightBurn is the industry standard — one-time licence, around ?4,000)Ventilation and safety (extractor, fire extinguisher, laser goggles)Marketing (initial website, social media imagery, sample products)Explore current laser engraver pricing on 3idea: https://www.3idea.in/category/laser-engraver A common rookie mistake: spending the entire budget on the machine and skipping safety, ventilation, or software. Allocate at least 25% of the total budget to those.Step 4: Choosing the Right Laser Engraving MachineMatch the machine to your niche:Wood, acrylic, leather: CO2 laser. Creality Falcon2 (available on 3idea) is one of the most popular choices for new businesses.Metal engraving and industrial marking: fibre laser.Hobby start with low capital: diode laser like the Creality Falcon series at lower wattages.Multi-process workshop: Snapmaker modular systems combining 3D printing, laser engraving, and CNC.Choose a machine with strong India service support — spare-part availability matters more than the cheapest sticker price.Step 5: Workspace SetupA good workspace is safe, organised, and well-ventilated.A separate room or dedicated corner with adequate floor spaceStable, single-phase or three-phase power as the machine requiresExternal exhaust or a fume-extraction unit (mandatory for CO2)Fire-safe storage for solvents and acrylicAdequate lighting for finishing and quality controlFor a home-based engraving business, a balcony or garage with proper ventilation works well. Make sure neighbours and your apartment complex are comfortable with the setup.Step 6: Legal Requirements in IndiaBasic legal compliance for a new engraving business:Register as a sole proprietorship, partnership, or LLP depending on scaleMSME (Udyam) registration — free, online, and unlocks government schemesGST registration if turnover crosses ?20 lakh (services) or ?40 lakh (goods)Trade licence from local municipal authority for commercial premisesCurrent account for business transactionsShop & Establishment registration if operating from a fixed premiseNone of these are difficult. Most can be completed online or with a CA in under two weeks.Step 7: Learning and Skill DevelopmentTwo skill tracks matter:Design software — LightBurn for laser-specific work; CorelDRAW or Adobe Illustrator for vector designMaterial knowledge — different woods, acrylics, and leathers need different power and speed settings. Build a settings library as you go.The first month should be spent practising — engraving on every material you plan to offer, recording optimal settings, and building a portfolio of sample work for marketing. This investment pays back many times over.Step 8: Pricing and Profit StrategyMost beginners underprice. A simple pricing formula:Sale price = (material cost × 3) + (machine time × hourly rate) + design feeA typical hourly rate for laser engraving in India sits at ?500–?1,500 depending on city and machine wattage. Gross margins of 40–70% are realistic — far higher than most retail businesses.For bulk and corporate orders, drop the per-unit price slightly but keep margins healthy on volume. Repeat corporate clients are the foundation of a stable engraving business.Step 9: Marketing Your BusinessThree channels deliver the highest return for engraving businesses:Instagram and Pinterest — visual platforms ideal for showcasing custom work. Consistent posting plus reels of the engraving process performs very well.Local partnerships — wedding planners, event managers, corporate gifting houses, and gift shops can deliver recurring orders.Marketplaces — Etsy, Amazon Custom, and India-specific platforms expand your reach beyond your city.The fastest growth comes from a strong portfolio combined with reliable delivery and consistent quality. Build the reputation first; scale the marketing second.Step 10: Scaling Your BusinessAs orders grow, three scaling moves typically follow:Add machines — a second engraver doubles throughput without adding floor space significantlyMove from home to commercial premises — usually around ?3–5 lakh monthly revenueHire — first hire is usually an operator/finisher, freeing you for design and salesReinvest profits, automate workflows where you can, and resist the temptation to chase every new niche. Specialisation drives margin.Challenges and How to Overcome ThemCommon challenges in the first year:Machine maintenance. Stock common spares (lens, belts, laser modules) and learn basic repair from day one.Inconsistent quality. Build a settings library and version-control your design files.Seasonal demand. Wedding and festival peaks alternate with quiet months — keep cash flow disciplined.Competition. Differentiate on quality, design originality, and delivery reliability — not on price alone.None of these are deal-breakers. They are simply the normal mechanics of running any production business.ConclusionA laser engraving business is one of the most accessible, profitable, and scalable opportunities for Indian entrepreneurs in 2026. With the right machine, a clear niche, basic legal setup, and disciplined marketing, you can build a sustainable business from a single room — and grow it into a full workshop within a few years.Explore laser engravers and start-up bundles on 3idea Technology: https://www.3idea.in/category/laser-engraver The market is growing, the entry cost is low, and the margins are real. Now is the right time to start.

Read more
image
Buyer’s Guide for Dental Resin 3D Printing Setup

Digital dentistry has shifted from “future” to “table stakes”. Clinics and dental labs that haven’t adopted in-house 3D printing are quickly losing ground to those that have — on turnaround time, on patient experience, and on margin per case. A well-planned dental resin 3D printing setup is now a competitive necessity, not an aspiration.This guide walks through every component of a complete setup — printer selection, resin types, workflow, costs, and the practical considerations that decide whether the investment pays back in months or stalls in years.Why Dental Resin 3D Printing Is GrowingDental work is fundamentally about precision and personalisation. Every patient is different, and traditional workflows — impressions, plaster models, manual fabrication — are slow, inconsistent, and increasingly uncompetitive.A 3D printing setup compresses the entire workflow. Same-day crowns, in-house surgical guides, faster aligner production, and high-precision dental models all become routine. Clinics deliver better outcomes; labs deliver better margins. The technology has reached a point where the ROI case is straightforward.What Is a Dental Resin 3D Printing Setup?A complete dental setup consists of four interlocking systems:1.         The 3D printer — usually a high-resolution MSLA or DLP resin machine2.         The resin library — biocompatible resins certified for dental applications (models, guides, aligners, crowns)3.         Post-processing equipment — wash unit and UV curing station4.         Software — CAD design tools, slicers, and ideally integration with your intraoral scannerEach component matters. A great printer paired with the wrong resin produces medico-legally non-compliant parts. Cheap post-processing equipment compromises dimensional accuracy.Understanding the Dental 3D Printing WorkflowThe standard digital dentistry workflow:1.         Capture. An intraoral scanner produces a digital model of the patient’s mouth.2.         Design. Dental CAD software (Exocad, 3Shape, Meshmixer) creates the required appliance — crown, aligner, surgical guide, or model.3.         Slice. The design is exported to the printer’s slicer with appropriate supports and orientation.4.         Print. The resin printer produces the part — usually in 30 minutes to 4 hours depending on size.5.         Wash. Cleaning in isopropyl alcohol removes uncured resin.6.         Cure. UV curing finalises mechanical properties and biocompatibility.7.         Finish. Support removal, polishing, and quality checks before delivery.A well-tuned workflow can turn a same-day crown into a 90-minute process — versus the multi-day cycle of traditional labs.Choosing the Right 3D Dental PrinterThe right printer is the foundation of the entire setup. Key criteria:•           Resolution. Look for true 4K or higher mono LCDs (or matching DLP resolution). Dental work demands accuracy in tens of microns.•           Build volume. Match volume to your case load — bigger isn’t always better, but undersizing throttles throughput.•           Light uniformity. Uneven UV exposure causes dimensional errors. Reputable dental-class printers have validated uniformity specs.•           Repeatability. The same file should produce the same part across hundreds of runs.•           Open vs closed material system. Open systems work with any compatible resin (more flexibility); closed systems lock you into the manufacturer’s resin library (sometimes higher quality control).For most clinics and small labs, an Elegoo Saturn 4 Ultra-class printer offers an excellent entry point. Larger labs typically move to dedicated dental brands. 3idea stocks the full Elegoo and Anycubic professional ranges with India-warranty and on-call technical support.Types of Dental ResinsResin selection is application-specific. The core categories you’ll need:•           Dental model resin — for printing study models and working casts•           Surgical guide resin — biocompatible Class I, for drill guides and implant planning•           Aligner / orthodontic model resin — high accuracy for thermoforming aligners•           Crown and bridge resin — long-term biocompatible, certified for oral use•           Castable resin — for crown and bridge investment casting workflowsEach has specific cure profiles, mechanical properties, and regulatory certifications. Browse certified dental resins on 3idea: https://www.3idea.in/category/resins A common rookie mistake is using model resin for guides or guides resin for crowns. Stay strict on the application-resin pairing — it is also a regulatory requirement.Essential Equipment for a Complete SetupBeyond the printer and resin, a production-grade setup needs:•           Wash and cure station — automated post-processing improves consistency dramatically•           Ventilation — dental resins have a stronger smell than consumer resins; proper extraction is mandatory•           Filtration funnels — for returning unused resin to the bottle cleanly•           PPE — gloves, goggles, lab coats•           Calibration tools — light meter, dimensional check parts•           Backup consumables — FEP films, build plates, IPA stockTreat these as part of the printer purchase, not afterthoughts.Cost of a Dental Resin 3D Printing SetupRealistic investment brackets in India:•           Clinic starter setup: ?2.5 – ?5 lakh (entry-level dental-grade printer + wash/cure + 6 months of resin)•           Mid-size lab setup: ?6 – ?15 lakh (production-grade printer + automated post-processing + larger resin library)•           Enterprise lab setup: ?20 lakh and up (multiple printers, automated workflow, integration with intraoral scanners and CAD pipelines)Recurring costs typically run ?15,000–?50,000 per month for resins, IPA, FEP films, and maintenance — well-covered by even modest case volumes. Most clinics recover their investment within 8–18 months.Key Factors to Consider Before BuyingA short pre-purchase checklist:•           Application mix. Models? Guides? Aligners? Crowns? Each demands different machine specs.•           Case volume. Low volume ? single printer with larger build plate. High volume ? multiple smaller printers running in parallel.•           Software ecosystem. Make sure your scanner, CAD tool, and printer slicer talk to each other cleanly.•           Service and training. Choose a vendor with India presence, on-site setup support, and accessible technical training.•           Regulatory compliance. Confirm the printer and resins are certified for the specific dental applications you intend to run.Get these right upfront. Switching machines or resin libraries after launch is expensive and disruptive.Benefits of Dental 3D PrintingThe measurable benefits of an in-house dental 3D printing setup:•           Turnaround time reduction of 50–80% for most case types•           Margin improvement of 30–50% versus outsourcing to traditional labs•           Better patient experience from same-day or next-day appliances•           Workflow consistency — digital files replace manual artistry•           Scalability — adding capacity means adding a printer, not training a new technicianThese benefits compound over time. Within 18–24 months of adoption, most clinics report being unwilling to go back to traditional workflows.Challenges and How to Overcome ThemHonest about the obstacles:•           Initial learning curve. Budget 4–8 weeks for the team to reach production-grade competence.•           Resin handling discipline. Strict PPE and ventilation are non-negotiable.•           Software complexity. Modern dental CAD is powerful but takes time to master. Vendor training shortens the curve.•           Calibration discipline. Routine calibration prevents accuracy drift.Each is solvable with disciplined process. None should stop adoption.The Future of Dental Resin 3D PrintingTrends to watch over the next two to three years:•           Faster print speeds through CLIP and HMP-style continuous-print resin technologies•           Permanent crown resins moving from experimental to mainstream•           AI-assisted dental CAD automating much of the design step•           Tighter integration with intraoral scanners for one-click scan-to-print workflowsEach of these tilts the economics further in favour of in-house printing.ConclusionA dental resin 3D printing setup is one of the highest-ROI investments a modern clinic or lab can make. The technology is mature, certified resins are widely available, and the workflow benefits are real and quantifiable.Choose the right printer, build a complete post-processing setup, and stay disciplined on materials and calibration. Explore dental-class 3D printers and certified resins on 3idea Technology: https://www.3idea.in/category/3d-printers The clinics and labs that adopt now will set the standard the rest of the industry follows.

Read more
Free Shipping
Fast Delivery
EASY RETURNS
Best Price